GENeSYS3 Screenshots
Below is a selection of some of the standard screens you would encounter
in Genesys3, along with a brief description of each. If you would like to
view a larger version of a screen simply click the appropriate screen.
|
|
The Login screen is password protected, providing a secure system and
preventing unauthorised access to respondent data.
|
|
|
|
The Control screen allows the user to navigate easily between the different sections
of GeneSys3. |
|
 |
|
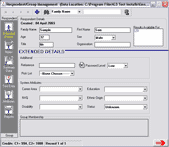
The Respondent screen gives the user convenient access to all the data held on
respondents in GeneSys3. From here the user can administer questionnaires and
create reports in a few simple steps. |
|
 |
|
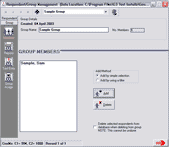
The Group screen enables the user to organise respondents into convenient groupings,
with the facility to rapidly create reports for all members of a group.
|
|
|
|
The Norms screen allows the user direct access to detailed information about
the norms available in GeneSys3. In addition users are provided with the facilities
to create their own norms with ease.
|
|
|
|
The Setup screen provides a convenient area in GeneSys3 in which to define and
review a number of settings that customise the way the system works.
|
|
|
|
The Data Management screen gives the user access to a range of utilities for
importing, exporting and backing up data in a various file formats. This screen
includes tools which can be used to anonymise respondent data, and optimise the
Genesys3 database.
|
|
|
|
The Custom screen provides the Genesys3 user with facilities for creating new
test batteries from individual questionnaires within the system, and customisation
of reports from sections of existing reports. |
| |
|
|
